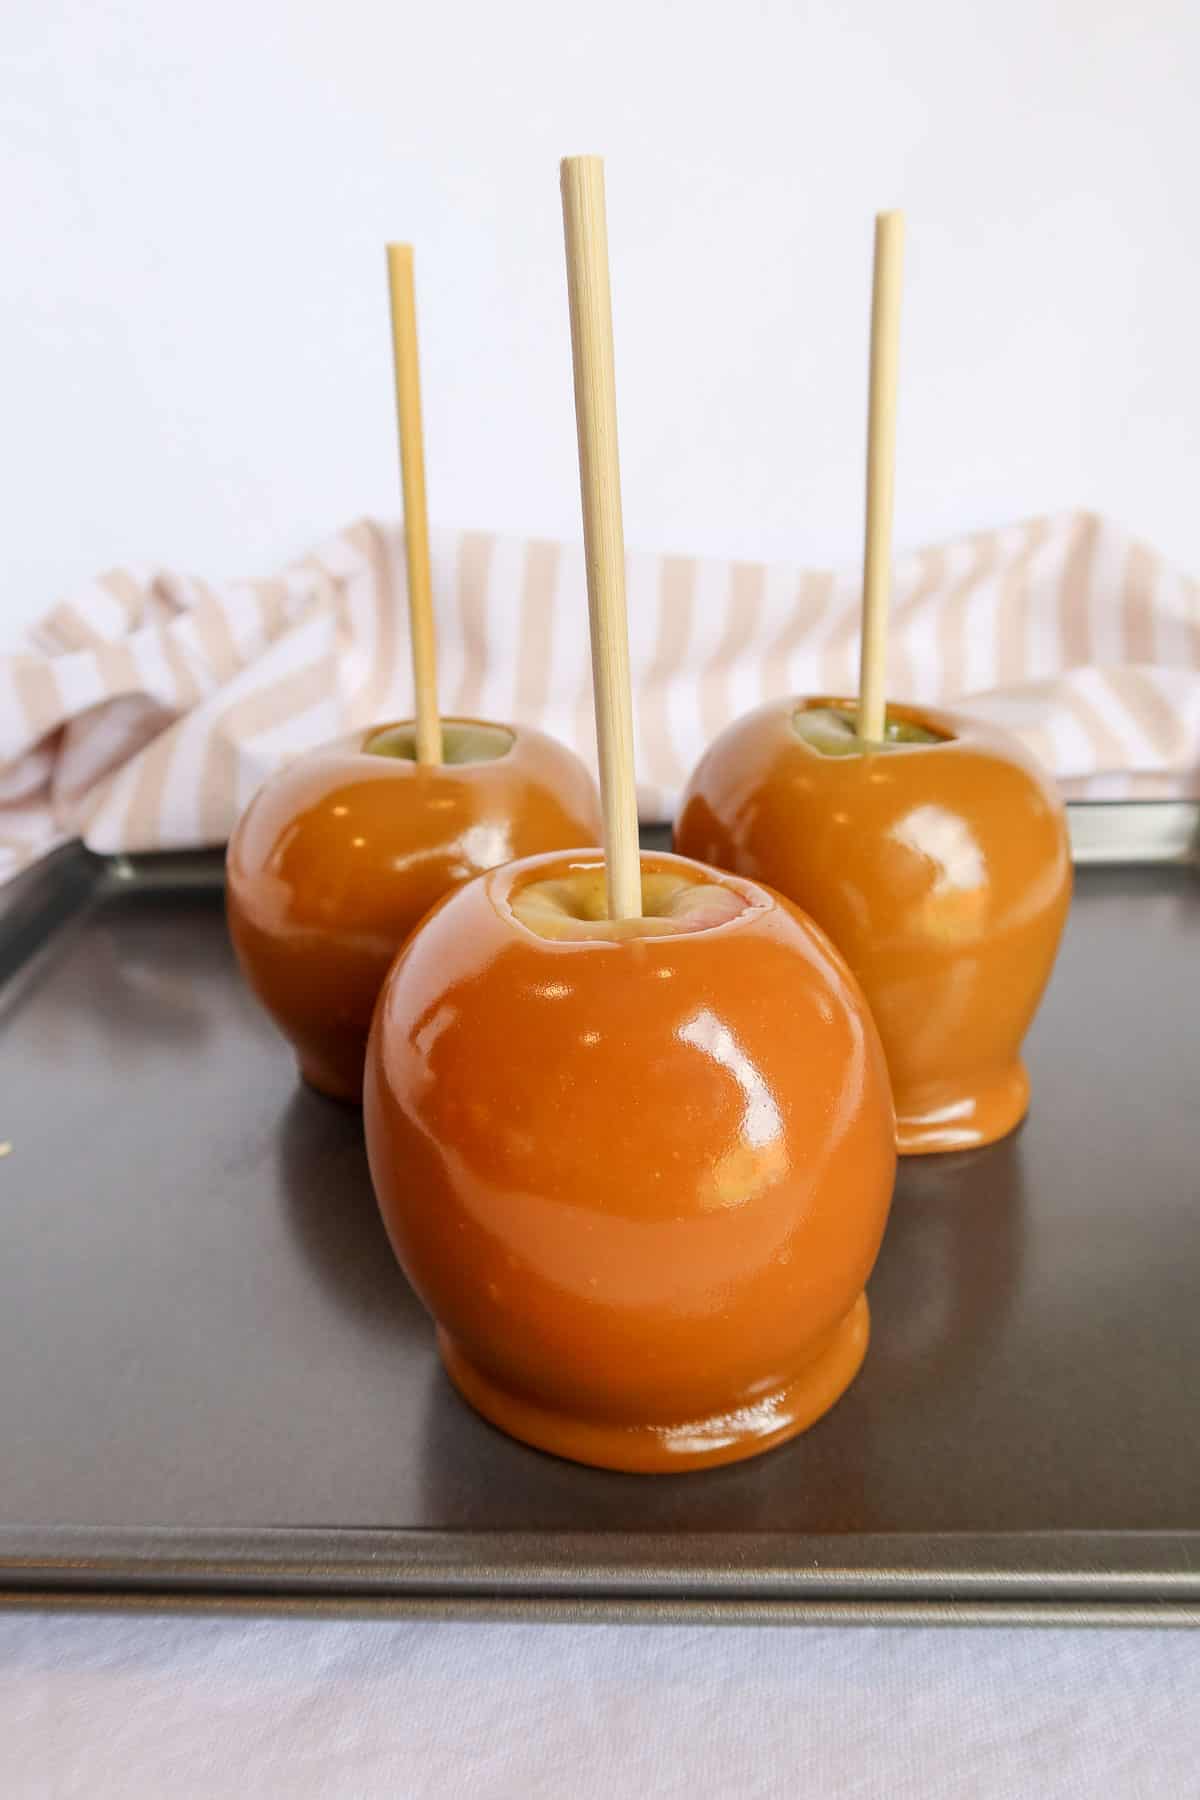
This time of year always makes me think of homemade caramel dipped apples. Not only are they tasty, they're so fun to make.
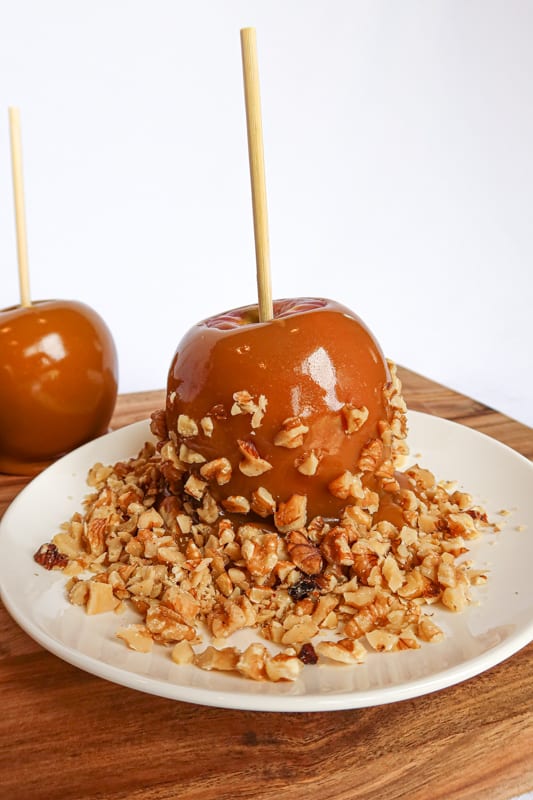
Get your creative juices flowing with endless decorative options: candy, crushed cookies, sprinkles, marshmallow, chopped nuts, chocolate or white chocolate (use candy food coloring and make it any color your heart desires)!
You can make classy apples, or spook them up for Halloween.
*Disclaimer: This article contains affiliate links. As an Amazon Associate, I earn from qualifying purchases.
A quick rundown - making homemade caramel dipped apples from scratch:
Keep scrolling down to find more detailed instructions for this recipe. First, I’ll start with a quick overview:
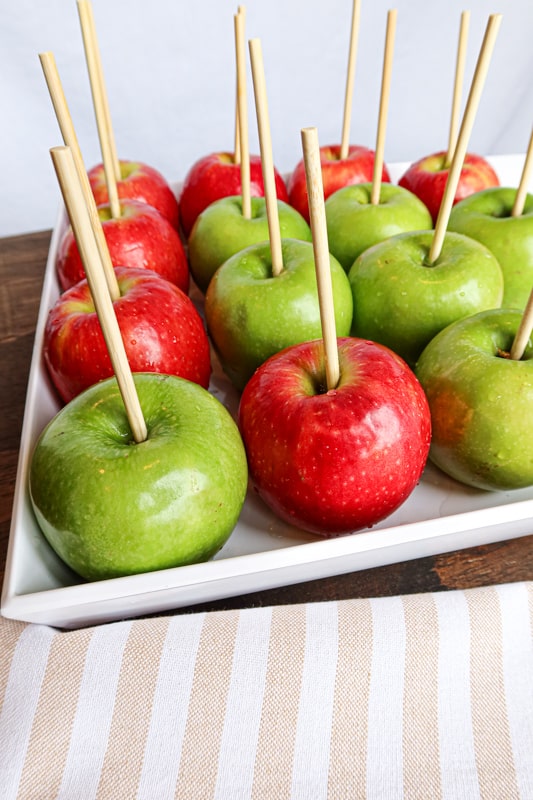
- Wash apples and remove wax from skin.
- Remove stems from apples and skewer each one with a dipping stick.
- Add all of your caramel ingredients to a sauce pan and bring to a boil. Allow the ingredients to simmer together for about 20 minutes.
- Once a candy thermometer reads 240°F (or soft ball stage) remove the sauce pan from the burner and allow caramel to cool.
- Dip apples in caramel and decorate!
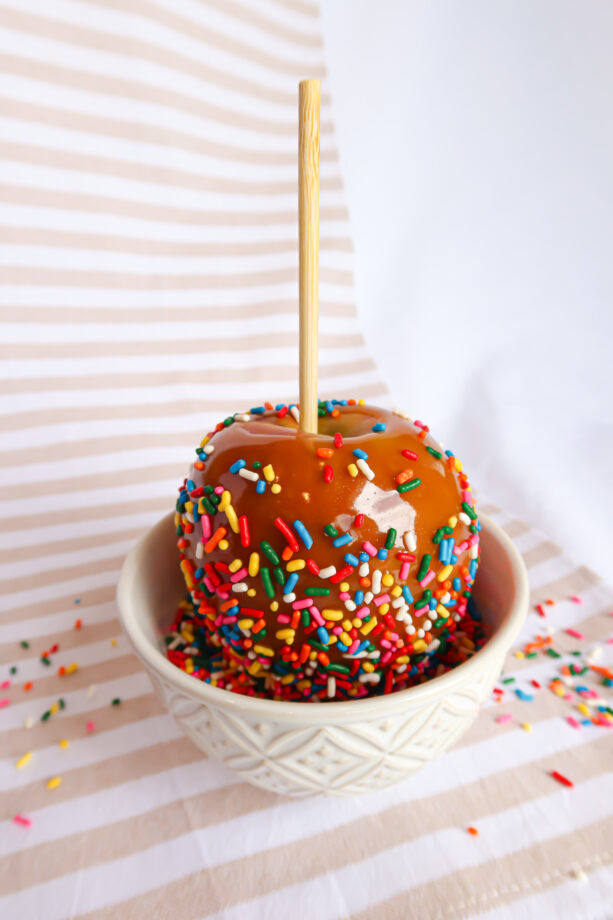
How to make caramel for apples:
The thought of making homemade caramel used to intimidate me, but it's actually really easy. Don't be afraid to try! It's much more enjoyable than un-wrapping hundreds of individual candies. Simply measure ingredients into a sauce pan and bring the mixture to 240°F. Here are few tips for making PERFECT, mouthwatering caramel for your apples!
- Candy thermometer: I recommend using a candy thermometer for this recipe. You can buy one online, but they are typically available at your local grocery store in the kitchenware isle. They're very affordable and take the guess work out of making perfect caramel. If you're in a pinch and don't have access to a thermometer you can try using the drop test/cold water method. Bringing your mixture to the right temperature helps it stick to the apples!
- Pastry brush: A pastry brush will come in handy when making homemade caramel. They're also very affordable and usually available in the kitchenware isle of the grocery store. It's important to wash down the sides of your sauce pan when you see bits of caramel splash. Splashed caramel can crystalize on the side of the pan and cause the whole batch to become grainy. When you see a splash, wash it down with water using your pastry brush.
- Don't use a metal spoon to stir: I recommend using a wooden spoon or a high quality, heat resistant rubber spatula when making homemade caramel sauce. You'll stir the liquid constantly while it is coming to temperature, so you don't want to use anything that will get too hot.
Other handy tips:
- Removing wax: Many caramel apple recipes and how to guides suggest scuffing the skin of your apples with sand paper to remove wax coating (this helps caramel to stick). I don't really like this method, instead I prefer to heat up a sauce pan of water and dip each apple for 2-3 seconds to soften wax. Then I use a clean towel to remove wax and dry the apple.
- Decorations: If you're looking for fun, seasonal decorations for your caramel dipped apples at the grocery store and you don't find the variety you fancy, pop over to the nearest craft store! Typically craft stores have lots of fun seasonal items in their kitchen/baking section.
- Candy coloring: If you want to color white chocolate, be aware that food coloring can make chocolate thicken or seize. Be sure to get candy coloring rather than basic food coloring. Candy coloring will be oil or powder based, whereas food coloring is generally liquid or gel based. You might be able to find candy coloring at the grocery store, but it's more likely to be at a craft store. You can also get it online (see links)!
Step by step:
Homemade Caramel Dipped Apples
Ingredients
- 10 medium size apples *see note below
- 2 cups sugar
- ⅔ cup heavy whipping cream
- 1 cup unsalted butter
- 1 teaspoon salt
- ¼ cup dark corn syrup *see note below
- 2 tablespoons molasses *see note below
- 2 teaspoons pure vanilla extract
Recipe notes:
Yield: this recipe will make somewhere between 8-10 dipped apples depending on apple size. Apples: when selecting apples at the grocery store, look for crisp, tart varieties. The tart apple and sweet caramel combo is heavenly! I typically purchase granny smith and pink lady apples. Dark corn syrup: if you don't have dark corn syrup you can use 3 tablespoons of light corn syrup and add an extra tablespoon of molasses. Molasses: if you don't have molasses you can use extra dark corn syrup.Instructions
- Place a small sauce pan ⅔ full of water on the stove and turn heat to high. While waiting for water to boil, wash apples and skewer each one with a dipping stick. Once water begins to boil, reduce heat down to low. Dip each apple into the hot water for 2-3 seconds and use a clean, dry kitchen towel to remove wax* from each apple. (*Removing wax from helps caramel to stick). Line apples up a large cookie sheet.
- Cut some parchment paper into 4x4 inch squares and set them to the side (cut as many squares as you have apples). You can use one large sheet of parchment paper rather than cutting squares, but I find individual cut outs helpful for decorating.
- Set out any decorations you want to use. If you're using nuts, get them chopped up. Caramel will set fast once apples are dipped, so you'll need to decorate quickly. If caramel sets before you are able to decorate, consider double dipping or drizzling in melted chocolate and sticking decorations to chocolate!
- Measure all caramel ingredients into a 3 quart* sauce pan. Place candy thermometer on the side of the pan. (*Caramel will foam and bubble as it cooks so you'll need a fairly large sauce pan. I have found that 3 quart works well)!
- Fill a small bowl or cup with water. Place your pastry brush in the water and set to the side.
- Turn stovetop heat to medium. Use a heat resistant rubber spatula or wooden spoon to gently stir* ingredients as they melt and combine. (*It's important to stir gently so you don't splash ingredients onto the sides of the sauce pan where they could crystalize and cause grainy caramel. If ingredients do splash, use your wet pastry brush to wash those bits off the side of the pan and back down into the mixture).
- Continue to gently stir ingredients and wash splash back down into the pan for about 20 minutes. Once your mixture comes to 240°F, promptly remove it from the heat and continue to stir while caramel cools.
- Allow the caramel to sit still for 2-3 minutes while bubbles rise to the surface. Stir gently to remove bubbles.
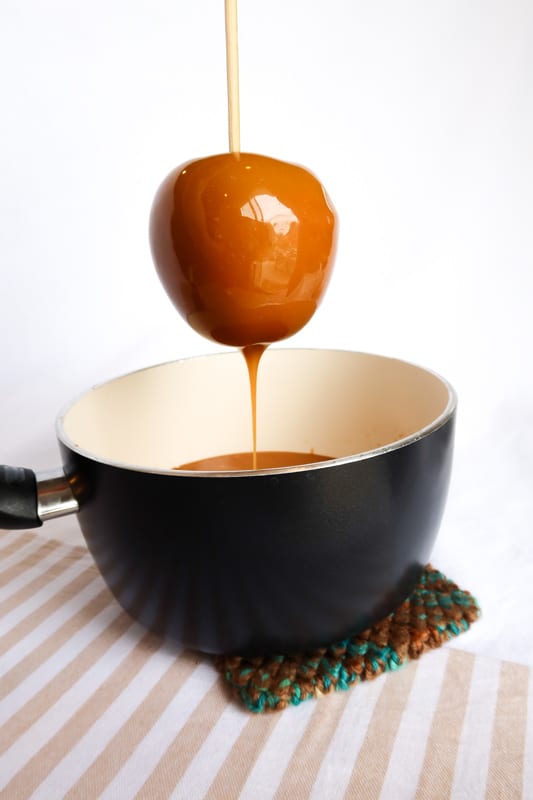
- Dip apples one at a time and place them on a square of parchment paper! If you want to decorate the caramel, do so quickly before it sets. Remember, you can also dip the apples in chocolate and then decorate the chocolate with nuts or sprinkles.
- If caramel starts to thicken too much for dipping, place sauce pan back on the burner at very low heat to thin it out a little.
- Store apples in the refrigerator in a food storage container with parchment paper between them prevent sticking. Once caramel has fully set you can cut up your apples and enjoy!
Did you make this recipe?!
Thank you so much for trying it out. Would you leave a rating? Simply click on the stars in the recipe card above. Your feedback is so important to me!
In the mood for fall desserts? Try these!
- Peanut Butter Chocolate Chip Pumpkin Bites
- Almond Flour Pumpkin Chocolate Chip Mug Cake
- Low Carb, No-Bake Pumpkin Cheesecake
- Pumpkin Baked Oatmeal With Pecans
- Pumpkin Pie Chia Pudding (2 ways)!
- Gluten Free Peach Cobbler
- Honey Apple Baked Oatmeal
- Maple Pecan Pumpkin Cookies
- Pumpkin Zucchini Muffins
- Classic Pumpkin Bread
Pin it for later!



Keeley says
I’ve been looking for a good recipe to make these!!! Thank you so much for sharing!
stacey_olson says
Thank you, Keeley!! I hope you enjoy them.
Vicki Adams says
Looks so yummy! I love caramel apples in the fall.
stacey_olson says
They are great for fall!